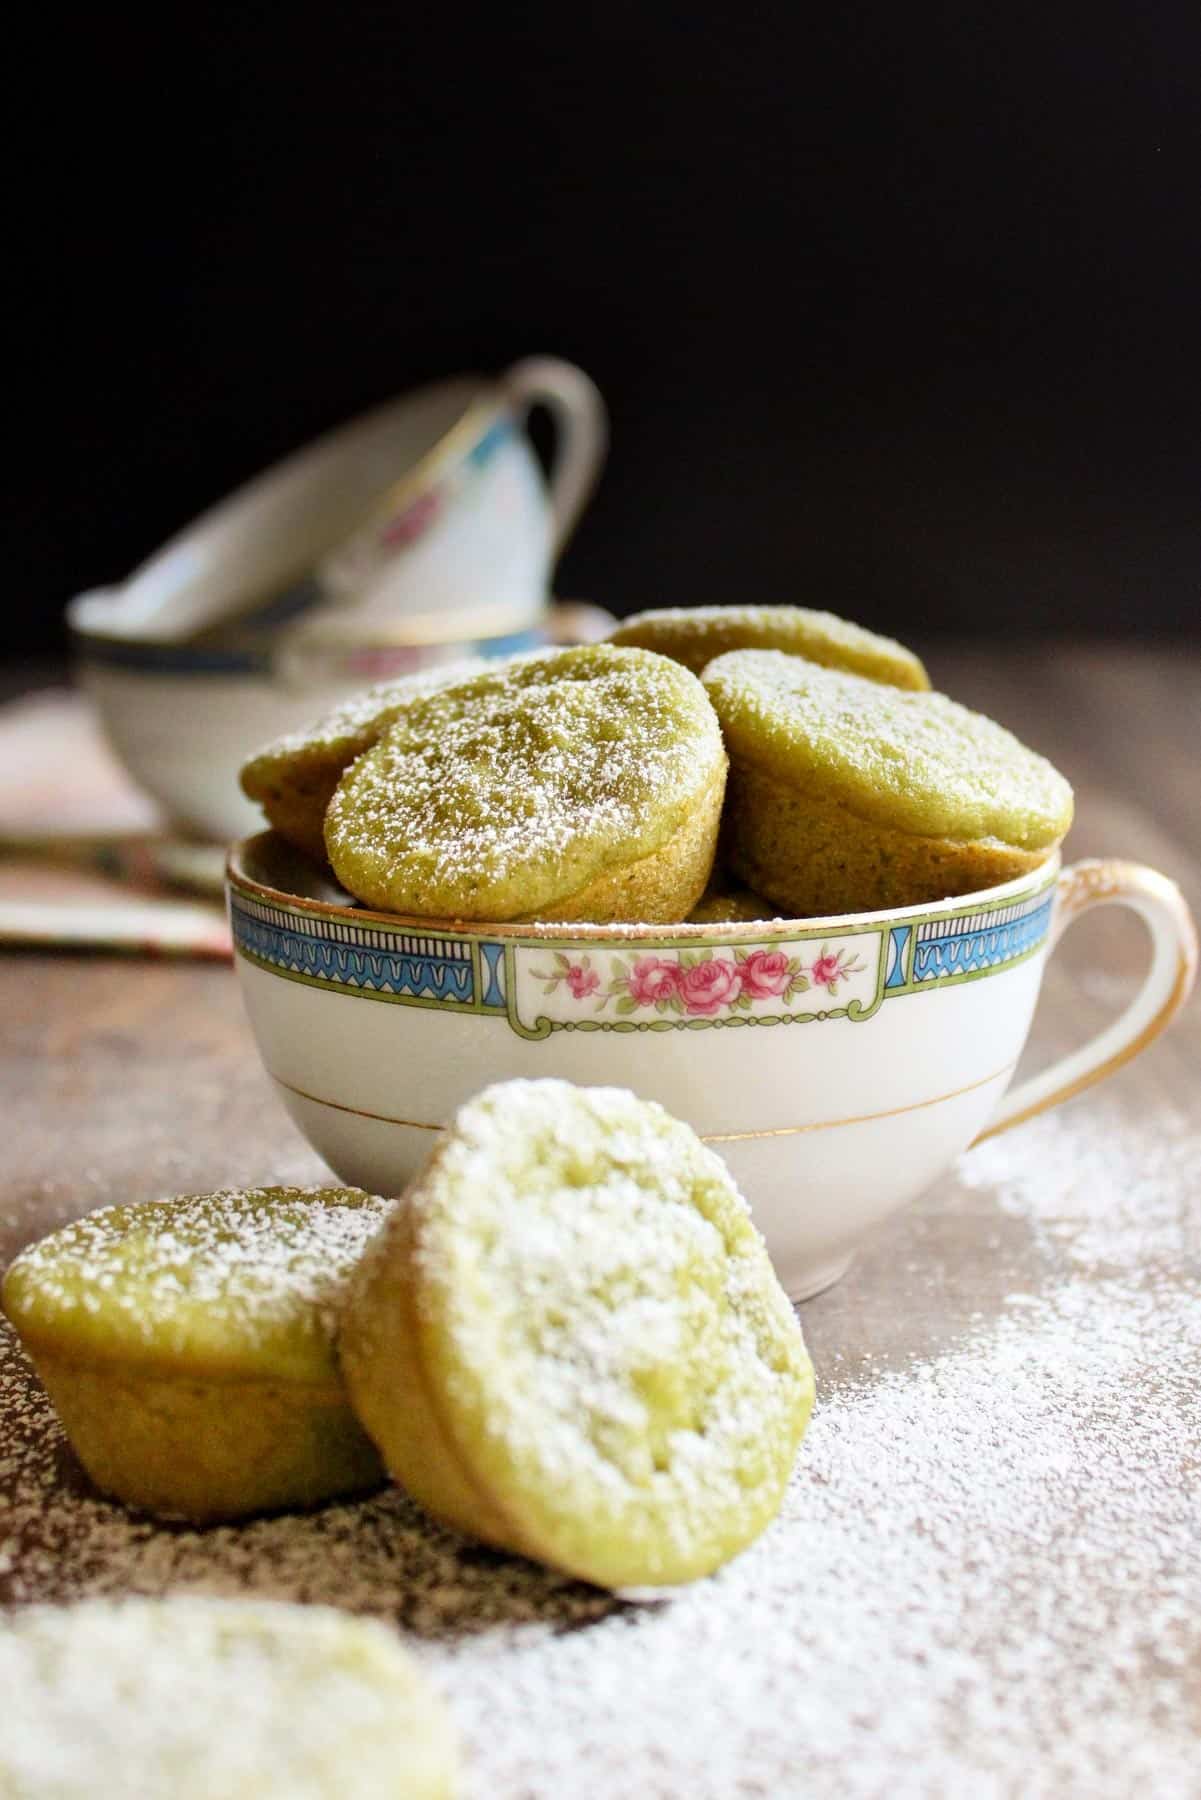
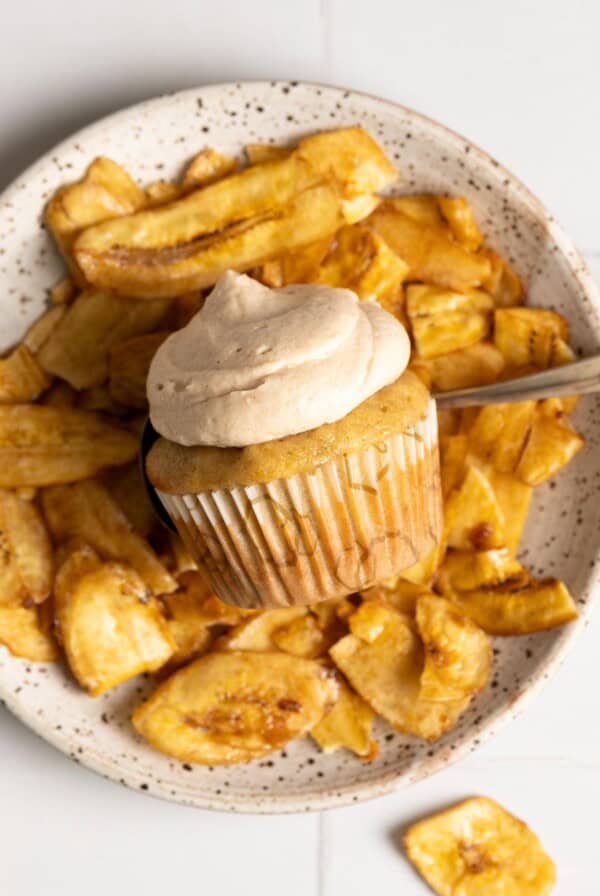
These chewy little Green Tea Mochi cakes are made with sweet rice flour, coconut milk and flavored with matcha green tea. They are soft, sweet, delightfully chewy and are just the perfect bite size!

These green tea mochi are exactly the same as my popular coconut mochi except they have a hint of matcha green tea which makes them the perfect pairing for a creamy matcha latte.
This green tea mochi recipe is different from Japanese mochi as it is a baked mochi recipe, but they’re still delicious and chewy! They are the perfect mash up of Hawaiian butter mochi with Japanese flavor.
Table of Contents
Why you’ll love this recipe
- These little cakes are made with rice flour instead of wheat flour making it chewy and gluten free, so they are a great alternative for those who can’t tolerate gluten.
- This recipe is a small batch, yielding just 18-20 mini mochi muffins.
- It is super easy to whip up with just a couple of mixing bowls and a hand whisk.
- They bake up quickly in under 15 minutes, and you can enjoy these in just under 30 minutes!
Ingredients and Substitutions
As always, you’ll find the complete list of ingredients and quantities in the recipe card at the end of this post. Below are some notes and substitution tips:

- Butter – I used unsalted butter but you can use salted butter in a pinch. Since it is such a small amount, you don’t have to worry about it making the mochi too salty.
- Sugar – I just used regular granulated sugar this recipe.
- Egg – just 1 large egg is enough for these.
- Vanilla – I used just a splash of pure vanilla extract for additional flavor.
- Mochiko – mochiko is a brand of sweet rice flour. You can use any brand of sweet rice flour but make sure it is either sweet rice flour or glutinous rice flour because regular rice flour is not the same and will not yield the same results.
- Salt – I use just a pinch of kosher salt, you can use sea salt or table salt.
- Baking powder – this will help the baked mochi rise.
- Matcha powder – I always use culinary matcha powder for all my baking recipes. I typically get it from a Japanese grocery store, but the Amazon version linked here is the exact brand I use. There is no need to use a more expensive version. But make sure you’re not using a matcha green tea mix which is typically already sweetened.
- Coconut milk – make sure to use canned coconut milk. This has higher fat content than the stuff in the carton and gives the mochi their richness. If you need to make a substitution, I recommend evaporated milk, half and half, or cream.
How to make green tea mochi
The following instructions, step-by-step photos, and tips are here to help you visualize how to make the recipe. You can always skip straight to the printable recipe card at the end of this post.
First, beat together egg, coconut milk, melted butter and vanilla in a medium mixing bowl.
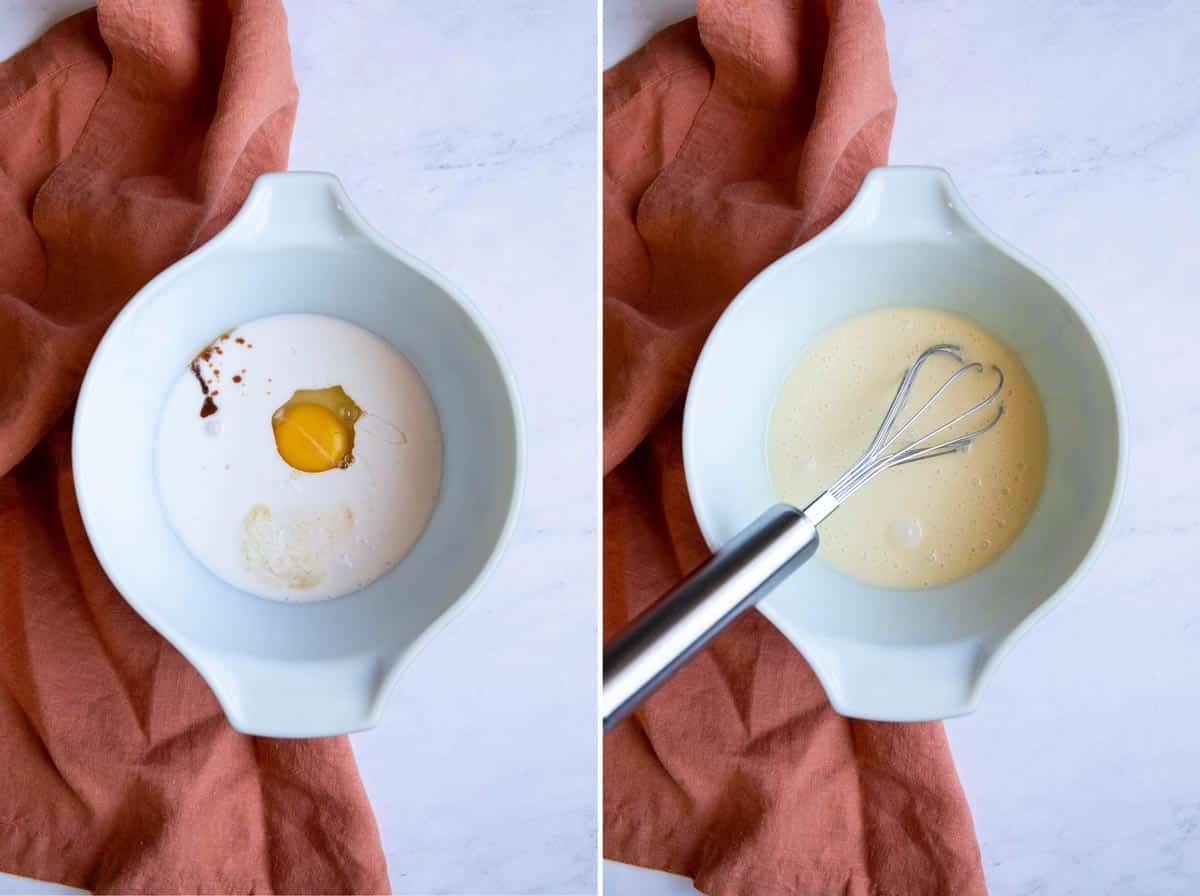
Next, mix together Mochiko, sugar, baking powder, matcha powder and salt in a small mixing bowl. Add the dry ingredient mixture to the wet ingredient mixture and whisk until a smooth batter forms.

Divide coconut mochi batter into a greased mini muffin tin. Fill each muffin cavity to about ¾ way full.

Bake at 375°F for 13 – 15 minutes until a toothpick inserted in the middle comes out with just a few crumbs attached.
Baker’s Tips
- How to measure sweet rice flour – fluff the flour, spoon it into your measuring cup and level it.
- Don’t worry about over mixing – unlike regular cake or cupcakes, since sweet rice flour doesn’t contain gluten, you don’t have to worry about the mochi getting too tough due to over mixing.
- They don’t rise a lot – the mochi will rise a little bit but because the texture will be very dense, it doesn’t rise as much as regular cupcakes do so don’t panic if some come out flat.
- Increase the amount of matcha powder for a stronger green tea flavor. I used just 1 teaspoon of matcha powder and the matcha flavor is mild. If you would like a stronger flavor, simply increase to 2 teaspoons or to your taste.
Storage
Room temperature: store Mochiko cake in an airtight container for up to 3 days. These little cakes will still be soft for up to 5 days to a week but they will start to lose their elasticity and become drier. Reheating them can revive them and make them taste like fresh.
Freezer: you can also freeze matcha mochi for up to 3 months. Thaw at room temperature and reheat in the microwave to soften and warm them up before serving, they will taste like they’re freshly baked.
FAQs
If you’ve kept your baked mochi over 5 days or just thawed it from frozen, wrap it in a damp paper towel and reheat in the microwave for 5-10 seconds. This will revive it and make it taste just like freshly baked.
No, you cannot! Sweet rice flour gives these gluten free mochi their chewy texture. Wheat flour will not yield the same results.
Yes, this recipe can be doubled, tripled, quadrupled, etc. Make as much as you wish. However, it can be quite tedious to bake so many mini mochi muffins. If you aren’t able to bake everything on the same day, you can refrigerate the batter overnight and continue baking the next day.

More matcha recipes
Hungry for more?
Green Tea Mochi

Equipment
- Mini Muffin Pan
Ingredients
- ⅔ cup Mochiko, sweet rice flour, 100 g
- ½ teaspoon rounded baking powder
- 1 teaspoon Matcha green tea powder, culinary grade
- ½ cup granulated sugar, 100 g
- A pinch of kosher salt
- 1 large egg
- ½ cup coconut milk, 114 g
- 1 tablespoon unsalted butter, melted, ½ oz, 13 g
- ¼ teaspoon pure vanilla extract
- Extra butter or nonstick spray for pan
Instructions
- Preheat the oven to 375°F.
- Prepare a mini cupcake pan by spraying it with nonstick cooking spray or brush with melted butter. Mop up excess oil or butter and set aside.
- In a small mixing bowl, add mochiko, sugar, baking powder, and salt. Mix with a whisk to distribute evenly.
- In a medium mixing bowl, add egg, coconut milk, melted butter and vanilla, whisk to combine.
- Add the mochiko mixture to the wet ingredient mixture and whisk until combined and smooth. You will get a somewhat runny batter.
- Use a cookie scoop to divide batter into each cupcake cavity, fill it to about ¾ way full. There should be enough batter to fill 18 – 20 mini cupcakes.
- Bake in the middle of the oven for 13-15 minutes until a toothpick inserted in the middle comes out with just a few crumbs attached.
- Remove from the oven and allow to cool on a wire rack. When the pan is cooled to the touch, use a butter knife to loosen the coconut mochi from the side, place on a wire rack to cool completely.
Notes
- Store green tea mochi in an airtight container, and consume within the week.
- How to measure sweet rice flour: fluff the flour, spoon it into your measuring cup and level it.
Nutrition
Nutrition information is automatically calculated, so should only be used as an approximation.
 Like this recipe? Rate & comment below!
This post may contain affiliate links. For more details on how we utilize affiliates, ads, and sponsored content, see our full disclosure policy. Thank you for your continued support, which enables us to keep bringing you delicious recipes, at no extra cost to you.


Is dairy free butter ok to use instead of regular butter?
I haven’t tried this recipe with dairy free butter, but since it’s a small amount, I don’t see any harm in substituting. I think you should be able to use dairy free butter. Please let me know if you run into any issues.