
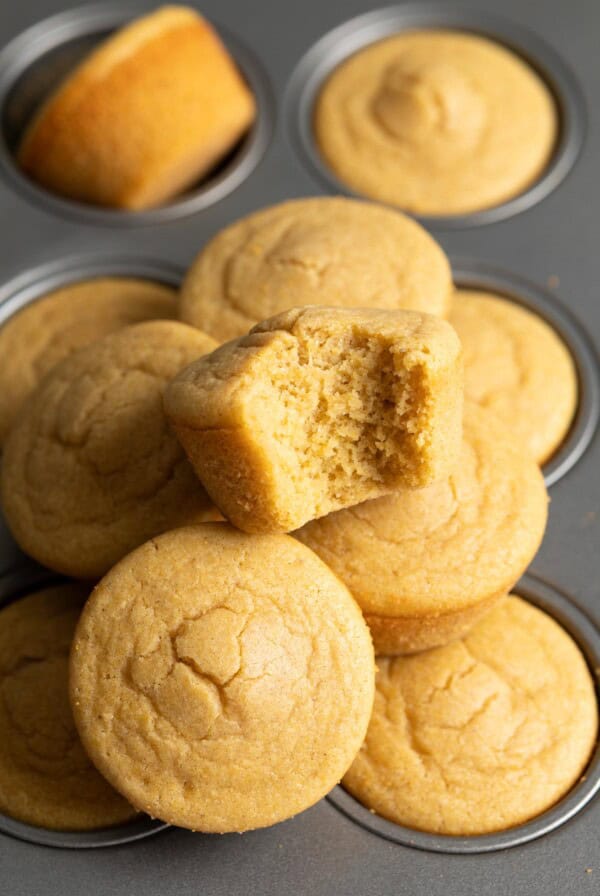
These delicious Coconut Mochi cakes are chewy little treats made with sweet rice flour and coconut milk. They are soft, sweet, delightfully chewy and are just the perfect bite size!
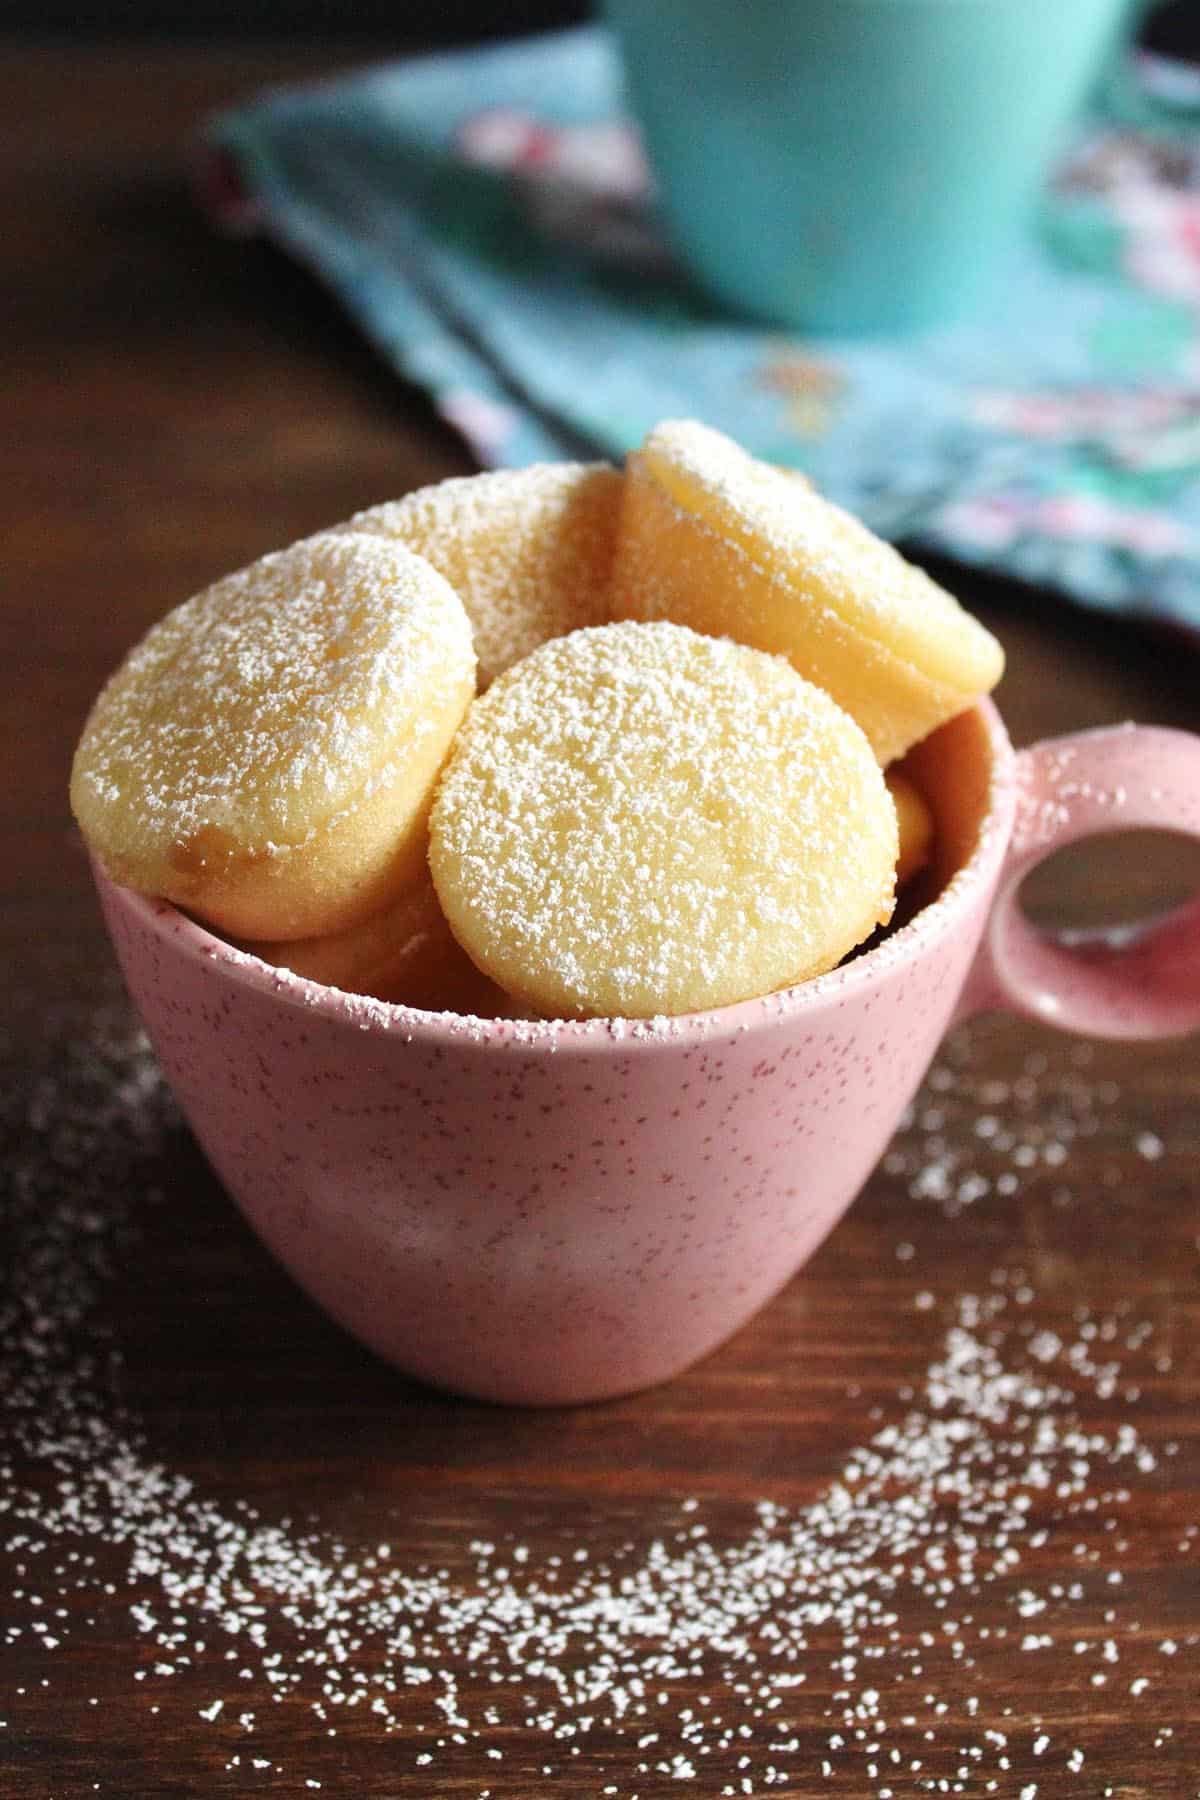
The very first time I tasted these lovely coconut mochi was so many years ago when I first started coming around for the holidays at my husband’s aunt’s, when we first started dating. I didn’t know it then, but these are very similar to the classic Hawaiian butter mochi, except that she always made them into these bite size mochi muffins.
I love their mini size but her recipe used a whole box of Mochiko (sweet rice flour) and outside of the holidays, it made too many. So I adapted it into a smaller batch – making just 18 to 20 mini muffins – for ourselves. I also made them with matcha and guava too! Try my matcha green tea mochi and my guava mochi, they’re also fantastic and adorable.
Don’t mistake this mochi cake with Japanese mochi, which is made by pounding steam sweet rice into a sticky paste, then shaped into round balls. Whereas, this is a baked mochi recipe, in the same way you would bake a cake. The difference between this coconut “mochi cake” and a regular cake is that coconut mochi uses rice flour instead of wheat flour making it chewy and gluten free!
Table of Contents
Helpful tools
This recipe is super easy to whip up with just a couple of mixing bowls and a hand whisk. You don’t need any special tools whatsoever. You do need a mini muffin tin to bake them in and I recommend using a small cookie scoop to divide the batter.
Ingredients and Substitutions
As always, you’ll find the complete list of ingredients and quantities in the recipe card at the end of this post. Below are some notes and substitution tips:
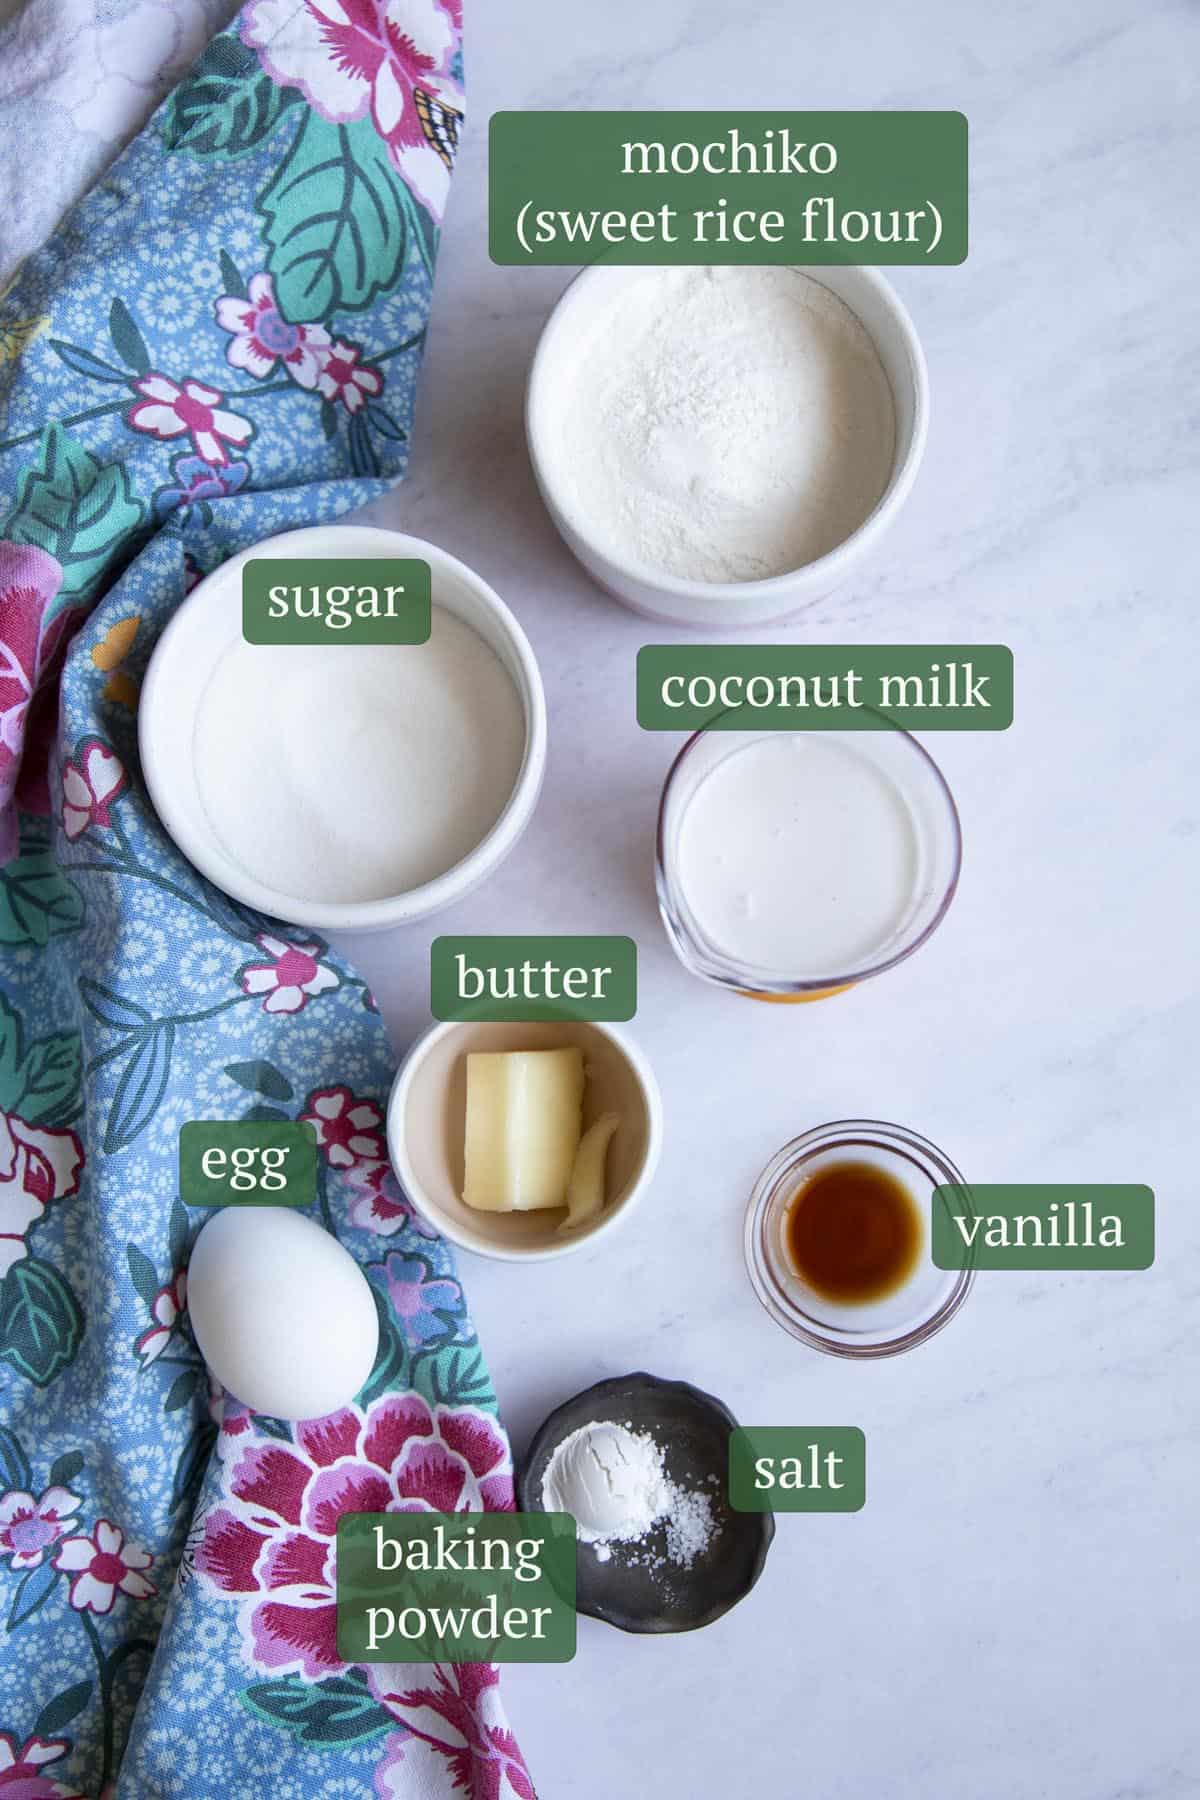
- Butter – I used unsalted butter but you can use salted butter in a pinch. Since it is such a small amount, you don’t have to worry about it making the mochi too salty.
- Sugar – I just use regular granulated sugar this recipe.
- Egg – just 1 large egg is enough for these.
- Vanilla – I used just a splash of pure vanilla extract for additional flavor.
- Mochiko – mochiko is a brand of sweet rice flour. You can use any brand of sweet rice flour but make sure it is either sweet rice flour or glutinous rice flour because regular rice flour is not the same and will not yield the same results.
- Salt – I use just a pinch of kosher salt, you can use sea salt or table salt.
- Baking powder – this will help the baked mochi rise.
- Coconut milk – make sure to use canned coconut milk. This has higher fat content than the stuff in the carton and gives the mochi their richness. If you need to make a substitution, I recommend evaporated milk, half and half, or cream.
How to make coconut mochi
The following instructions, step-by-step photos, and tips are here to help you visualize how to make the recipe. You can always skip straight to the printable recipe card at the end of this post.
First, beat together egg, coconut milk, melted butter and vanilla in a medium mixing bowl.

Next, mix together Mochiko, sugar, baking powder and salt in a small mixing bowl. Add the dry ingredient mixture to the wet ingredient mixture and whisk until a smooth batter forms.

Divide coconut mochi batter into a greased mini muffin tin. Fill each muffin cavity to about ¾ way full.
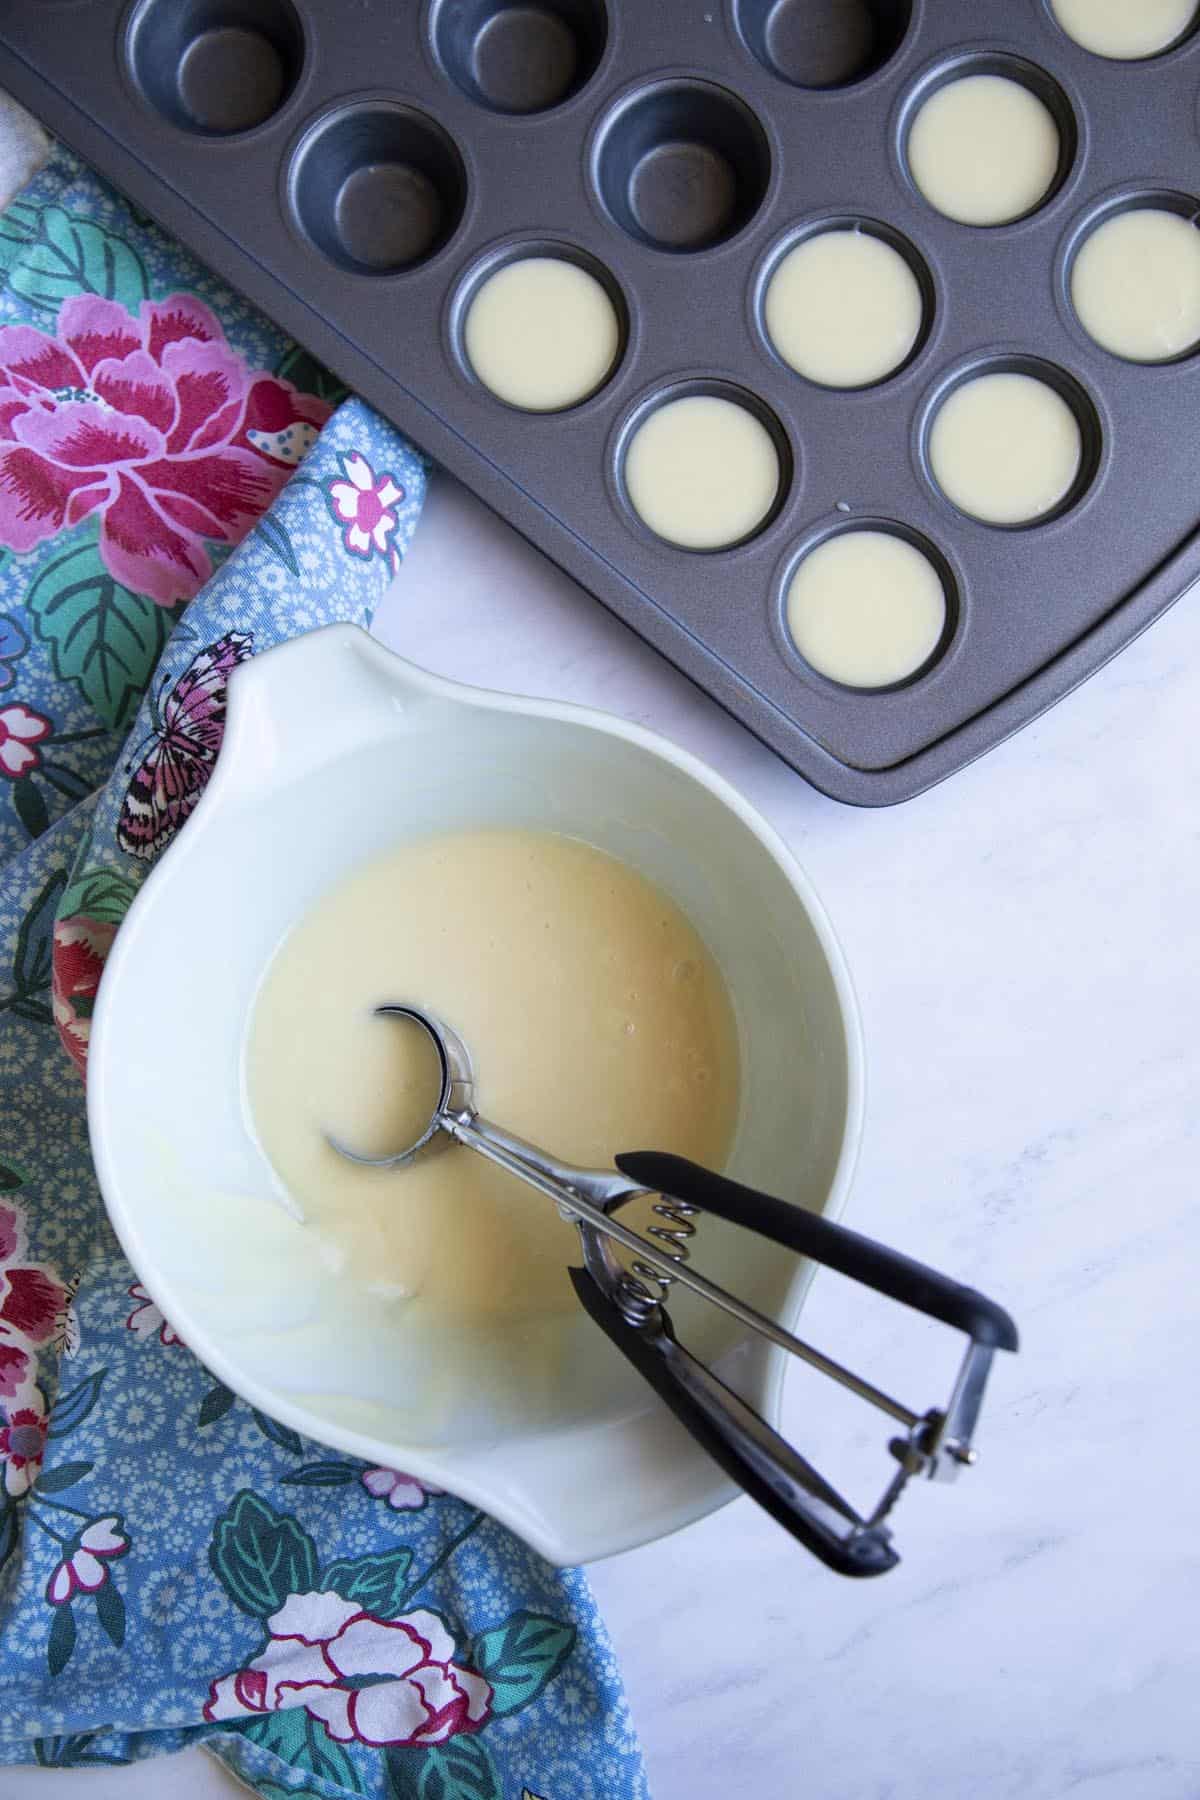
Bake at 375°F for 13 – 15 minutes until a toothpick inserted in the middle comes out with just a few crumbs attached.
Baker’s Tips
- How to measure sweet rice flour – fluff the flour, spoon it into your measuring cup and level it.
- Don’t worry about over mixing – unlike regular cake or cupcakes, since sweet rice flour doesn’t contain gluten, you don’t have to worry about the mochi getting too tough due to over mixing.
- They don’t rise a lot – the mochi will rise a little bit but because the texture will be very dense, it doesn’t rise as much as regular cupcakes do so don’t panic if some come out flat.
Storage
Room temperature: store Mochiko cake in an airtight container for up to 3 days. These little cakes will still be soft for up to 5 days to a week but they will start to lose their elasticity and become drier. Reheating them can revive them and make them taste like fresh.
Freezer: you can also freeze coconut mochi for up to 3 months. Thaw at room temperature and reheat in the microwave to soften and warm them up before serving, they will taste like they were freshly baked.

FAQs
No, you cannot! Sweet rice flour gives these gluten free mochi their chewy texture. Wheat flour will not yield the same results.
Yes, this recipe can be doubled, tripled, quadrupled, etc. Make as much as you wish. However, it can be quite tedious to bake so many mini mochi muffins. If you aren’t able to bake everything on the same day, you can refrigerate the batter overnight and continue baking the next day.
If you’ve kept your coconut mochi over 5 days or just thawed it from frozen, wrap it in a damp paper towel and reheat in the microwave for 5-10 seconds. This will revive it and make it taste just like freshly baked.

Hungry for more?
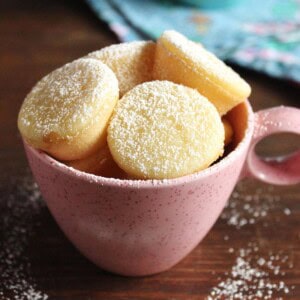
Coconut Mochi
Equipment
- Mini Muffin Pan
Ingredients
- ⅔ cup Mochiko, sweet rice flour, 100 g
- ½ teaspoon "rounded" baking powder
- ½ cup granulated sugar, 100 g
- A pinch of kosher salt
- 1 large egg
- ½ cup coconut milk, 114 g
- 1 tablespoon unsalted butter, melted, ½ oz, 13 g
- ¼ teaspoon pure vanilla extract
- Extra butter or nonstick spray for pan
Instructions
- Preheat the oven to 375°F.
- Prepare a mini cupcake pan by spraying it with nonstick cooking spray or brush with melted butter. Mop up excess oil or butter and set aside.
- In a small mixing bowl, add mochiko, sugar, baking powder, and salt. Mix with a whisk to distribute evenly.
- In a medium mixing bowl, add egg, coconut milk, melted butter and vanilla, whisk to combine.
- Add the mochiko mixture to the wet ingredient mixture and whisk until combined and smooth. You will get a somewhat runny batter.
- Use a cookie scoop to divide batter into each cupcake cavity, fill it to about ¾ way full. There should be enough batter to fill 18 – 20 mini cupcakes.
- Bake in the middle of the oven for 13 – 15 minutes until a toothpick inserted in the middle comes out with just a few crumbs attached.
- Remove from the oven and allow to cool on a wire rack. When the pan is cooled to the touch, use a butter knife to loosen the coconut mochi from the side, place on a wire rack to cool completely.
Notes
- Store coconut mochi in an airtight container, and consume within the week.
- How to measure sweet rice flour: fluff the flour, spoon it into your measuring cup and level it.
Nutrition
Nutrition information is automatically calculated, so should only be used as an approximation.
 Like this recipe? Rate & comment below!
This post may contain affiliate links. For more details on how we utilize affiliates, ads, and sponsored content, see our full disclosure policy. Thank you for your continued support, which enables us to keep bringing you delicious recipes, at no extra cost to you.


Thank you so much for the recipe. They were delicious and simple to make. Love them.
Thank you, Evie! So glad you liked them 🙂
I have been dying to make mochi forever! This was the recipe that got me off the sofa and into the kichen. I couldnt find my minis so I used silicone cups. I addad a small amount of grayed fresh coconut. I can’t wait!!!! They are baking now. Ok. This is a keeper. I dusted with powd sugar and yum!!! What I really like is not having to take out my Kitchenaid and its a small batch! Ids just mt hubs and I, so im always looking for small batch. Thank you for the great mochie recipe!
Thank you, Lynda. Glad to hear you like these 🙂
These are amazing!! And so simple 🙂 I can’t stop eating them!
Thank you, Lia. So happy to hear you love these, one of our favorites for sure!
They are delicious! Used a hand mixer and sifted dry ingredients before combining. Thank you!!!
Thank you! This was really yummy and I baked it in an 8 x 8 pan for 25 minutes in a gas stove. I also mixed in 1/3 cup shredded coconut. I put in less sugar since the coconut was sweetened. Thumbs up from the entire family! It’s delicious straight out of the oven, when it’s warm and edges are crispy!
So glad to hear you like it! The addition of shredded coconut sounds wonderful 🙂
First time doing mochi, I put in some coconut flavoring and combined coconut milk, icing sugar and coconut to make a glaze and they were awesome 👌
Ooo a glaze for these sounds wonderful! Thank you for trying the recipe and sharing your take on them!
First time making coconut mochi so I’m glad I found your recipe. I found a ziplock of young coconut meat in our freezer – leftovers from a backyard ‘nut husking adventure with our grandsons last fall, I’m guessing – and didn’t want to waste it, and coconut mochi came to mind. I ran the “spoon meat” through a processor and was able to strain out exactly one cup of creamy liquid, which I used in place of canned coconut milk for a double batch following your recipe. I don’t have any mini muffin tins, so I used full-sized muffin pans, filling 18 molds with 2 tablespoons of batter each. Turned out great! Had to adjust baking time to account for larger pans, etc., so I watched the edges brown and the discs rise and pulled them out after about 27 minutes. Discs popped out easily once cooled and began disappearing immediately. Thank you for sharing this recipe, and for including the helpful comments and replies from other bakers.
Thank you for your wonderful review Kekoa! I’m so glad you like the recipe and I love all the details you listed for the changes you made, they would help other readers so much!
Hi Trang! 😉
When I baked the mochi cupcakes, I noticed there were lots of bubbles around the cupcakes…it’s like they were drenched in butter…and when they came out from the oven, the bottom of the cupcakes were wet…not crunchy 🙁 Do you know what I did wrong? Thank you!
Hi Clare, I’m not so sure but it sounds like maybe they weren’t well mixed? This rice flour doesn’t have gluten so you don’t have to worry about overmixing the batter, make sure to mix it well until smooth. If the bottom is wet, it could be too much moisture. Perhaps one of your measurements was off?
Hi Trang,
thanks for your reply! I did make sure there were not lumps in my batter and I followed all the measurements. 🙁 The mochi cupcakes came out very oily. The bottom were wet with butter (need to blot them with kitchen towel) . Also, my mochi cupcakes were like baking in a pool of butter…oh my..
I’m sorry Clare, I’m not sure how that happens. I bake these every year so it’s really strange to me to hear this. Plus there is only 1 tablespoon of butter in the recipe for flavor, that’s only a small slab of butter for 20 small cupcakes, so I don’t know how they would be sitting in a pool of butter. Are you sure you use the correct measurement for butter?
no worries! I’ll give it a try again! not sure if it’s because I oiled the pan too much.. last question..do all the ingredients need to be at room temperature? thank you so much for your help! 😉
Yes, room temperature. Let me know how it goes the next time. Hopefully it will work out 🙂
Hi Trang!
I made these last week and absolutely love them. Can you tell me alittle more about the shelf life. I want to make them for a family event.
Can these be frozen? Should they be refrigerated or is room temp ok ?
Hi Nick! I think you emailed me your questions but I’ll answer here too: at room temp, these will last a few days, because they are quite moist, it is best to consume them asap so they don’t go moldy. You can refrigerate or freeze them, but when you do this they will harden and will require some microwaving to soften them before serving. I usually make these for our family Christmas party and would always make them the same day I bring them to the party because they are always best fresh. You could make the batter the day before, keep in the fridge and bake the next day if it helps.
Now because these are baked in mini muffin tins, they could be somewhat tedious to make for a big party, you will also need to double or triple the recipe since I would assume each person could eat 3-4 of these easily! I have this Hawaiian butter mochi recipe that is very similar and baked in a 9″x13″ pan which makes it a little easier to prepare. Hope this helps!
Great simple recipe, thanks!
I made a few modifications to cut the sweetness a bit. I used 1/4 cup of sugar instead of 1/2 cup, and I added a 1-2 tsp of cacao powder.
I also used a small 5×5 baking dish lined it with parchment paper instead of additional butter in mini muffin tins. I baked it for 15 minutes at 375 and then an additional 5 min at 400 because it wasn’t quite done yet due to my deviation from the original instructions.
I think this is a very flexible and forgiving recipe. I was able to make my own adjustments within reason, and it came out delicious!
I’m so glad to hear it came out delicious with all your adjustments! And yes, you are so right, this is a very forgiving recipe and a great base for all different kind of flavors and modifications. Thank you for your wonderful review 🙂
It actually sounds like it might not be done baking – perhaps it would be help to try leaving in longer. I haven’t tried this recipe yet, but usually when making butter mochi I only take it out of the oven once the edges start to come apart from the pan or are really nice and brown.
Ovens can be quite different from another, so it would account for the difference considering you were meticulous in following the recipe.
I love this recipe! I just made it and it turned out great! I added a dash of black sesame seeds on top of the mochi batter before putting them in the oven. I baked them at 375F for 14 minutes. I actually scooped 21 mini cupcakes instead of 20 mini cupcakes from your recipe. The sides of the coconut mochi turned out golden in color and there weren’t much crumbs when I did the toothpick check in the center of the mochi. Thanks for sharing your recipe!
So tasty, Trang! I doubled the recipe because I knew they would be popular. My only change was that I used 1/2 the amount of sugar. I made sure to lightly push the batter into the cups to avoid of any air pockets that others experienced, and that seemed to do the trick. Thanks for a great recipe!
Is it possible to add fruit to this recipe?
I think fruits might release too much juice making it too watery when baked.
Hi! I don’t think you should add fruit to the batter itself due to fruit releasing stuff that makes it watered down but maybe add it on top some pineapple on top sounds really good lol 🙂
Hi! Thank you for this simple yet tasty recipe! Everyone loved it! The only problem I had was after taking them out of the oven, they all deflated and sunk in. What is the reason for that?
Hi Priscilla, did you beat the batter too much? I haven’t run into this issue personally but I do see pictures from readers sometimes and noticed this. I usually make this recipe by hand and not in a mixer or electric mixer. Make sure to use good baking powder, one that hasn’t expired yet.
Made these and they were well risen and after poking with toothpick was clean I took out and they just deflated 🤷♀️
I still ate them but why
Hi Rosa, the top of these won’t be domed like muffins. If you see the photos, they are flat. The reason is because the are made with rice flour which is gluten free, gluten in wheat dough is responsible for the structure of the risen dome you’ll find in something like a muffin. Here, the steam inside the mochi will make it rise but once it cools, the structure doesn’t hold and it deflates.
If I were to add 1 can of evaporated milk how much of rice flour should I add?
Hey Angelique, this is a really big modification to the recipe and unfortunately, I can’t really give you an exact answer. When you change the liquid ratio, you also need to change how much eggs to add because the eggs bind the ingredients together, the amount of sugar, and other additional ingredients. Without testing this, I don’t know what else will need to change. But my Hawaiian Butter Mochi uses evaporated milk and coconut milk, it’s made in much larger quantity, maybe this would be more in line with what you’re looking for.