

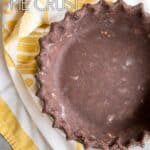
This homemade Chocolate Pie Crust is the chocolate version of my go to all-butter pie crust. It is very easy to make, with ingredients that you most likely already have on hand. It can be used for traditional single-crust or double-crust pies, and all the hand pies you can dream up.

A homemade pie crust is the secret weapon to the most delicious pies! It seems easier to opt for a store bought crust to save time, but homemade crust is far more superior and actually very easy to make. It adds even more chocolate flavor to my French silk pie recipe!
This Chocolate Pie Crust recipe is very simple and versatile. It is the chocolate version of an all-butter pie crust that can be used in just about any pie recipe. You will need to bake this chocolate crust, if you’re looking for a no bake version, try this Oreo pie crust.
Table of Contents
Ingredients and Substitutions
There are just 6 ingredients needed to make this chocolate pie crust including water and salt!
As always, you’ll find the complete list of ingredients and quantities in the recipe card at the end of this post. Below are some notes and substitution tips:
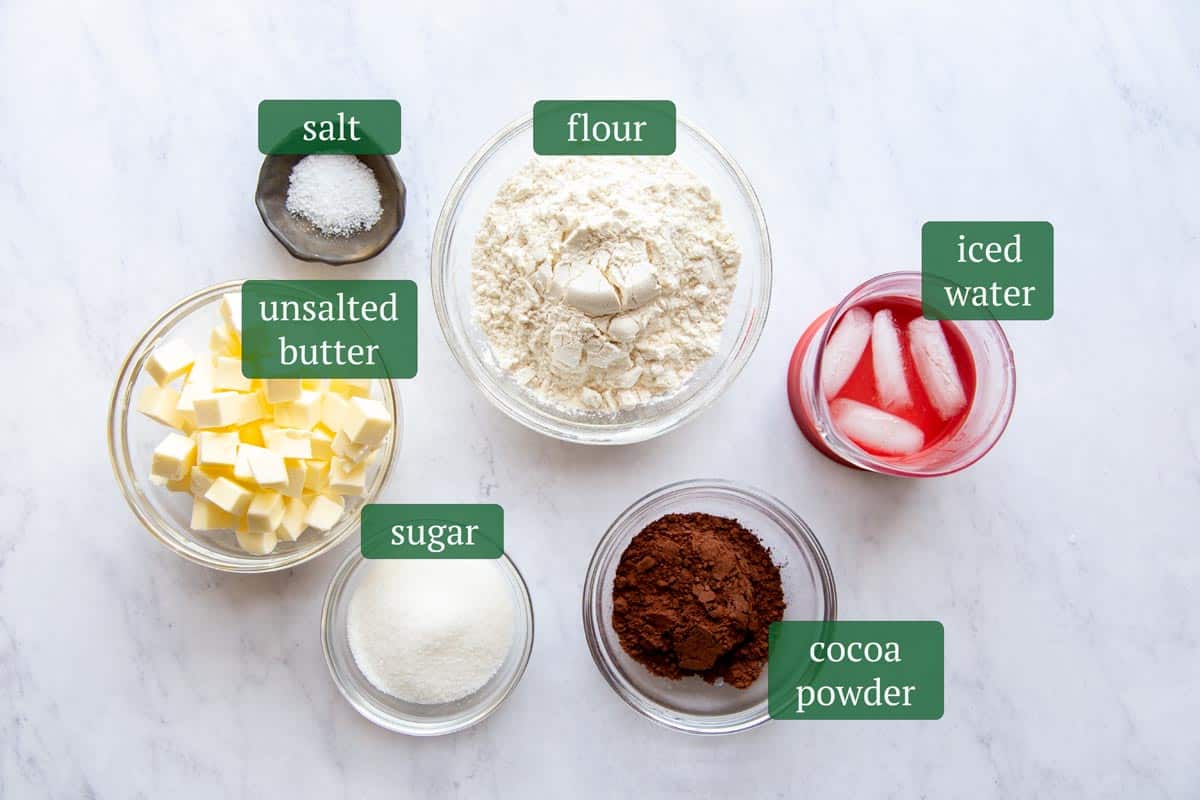
- Flour – I use all-purpose flour for all of my recipes but for a pie crust or any pastry recipe, you could use pastry flour if you wish.
- Cocoa powder – I use cocoa powder to add chocolate flavor in my homemade chocolate pie crust. You can use either natural cocoa powder or Dutch-processed cocoa powder, but note that the latter will give a deeper chocolate flavor. To enhance chocolate flavor ever further, you can add instant coffee or instant espresso powder.
- Sugar – I like my pie crust on the sweeter side and because the cocoa powder adds some bitterness to the pie crust, I used ¼ cup of granulated sugar to sweeten this chocolate pie crust.
- Butter – unsalted butter is used. Make sure it is cold.
- Salt – a little bit of kosher salt is used to enhance flavor.
- Water – use iced water to hydrate the pie dough and to bring it all together. You want to make sure it is cold so the butter doesn’t melt. Also, make sure you don’t use too much water or the dough will become too soft and sticky. You could use some type of alcohol, such as vodka, to replace some or all of the water. Alcohol inhibits gluten formation and will create a flakier crust in the end.
How to make Chocolate Pie Crust
The following instructions, step-by-step photos, and tips are here to help you visualize how to make the recipe. You can always skip straight to the printable recipe card at the end of this post.
Processing the ingredients
Mix or sift the cocoa powder together with flour, sugar and salt before adding butter. I do this in a separate mixing bowl before transferring to a food processor to ensure the dry ingredients are distributed evenly.
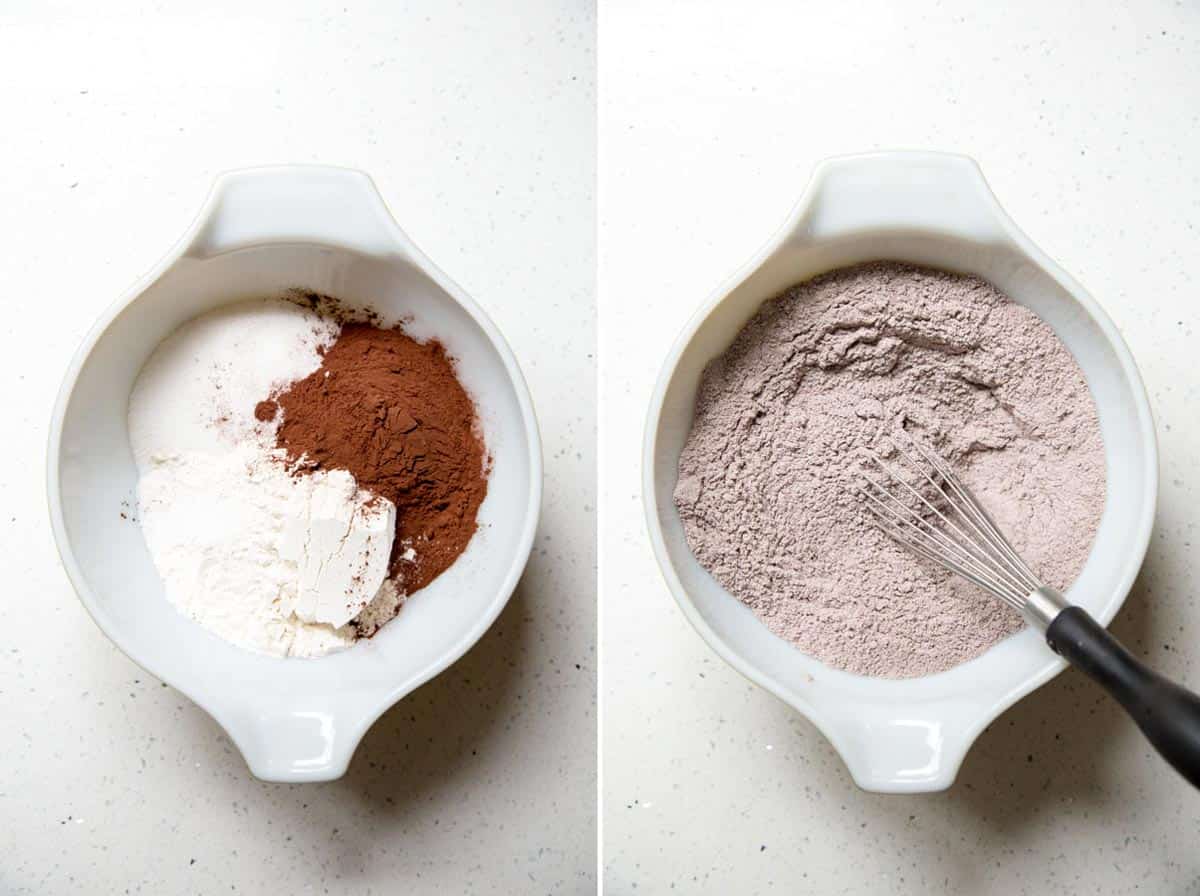
Note: if using a food processor or stand mixer, you could let the machine do this step for you but I find that mixing by hand gives a more even mix.
Add cubed, cold butter straight from the refrigerator to the flour mixture in your food processor fitted with the plastic dough blade. Pulse to mix until butter pieces are no smaller than pea and bean size.

Drizzle in cold water while mixing. Check the pie dough by grabbing a chunk of dough with your fingers and press it together. If it holds, it is ready.

Note: The recipe calls for 4 to 6 tablespoons of water, but add only as much water as needed to get the dough to form. The water quantity is slightly more than needed for the regular pie dough due to the addition of cocoa powder.
Forming the dough
Line your cutting board/counter with a piece of plastic wrap and dump the dough on to the plastic wrap. Use the plastic wrap to gather the dough into a ball and shape it into a disk.

Tip: Using plastic wrap to form the dough will prevent the need to add extra flour in this step.
Now let it rest at least one hour in the fridge or overnight if you are preparing your pie crust ahead.
Forming the pie crust or shapes
When you’re ready to make the pie crust, take the dough out of the fridge and roll it into a circle about 2” larger than your pie dish.
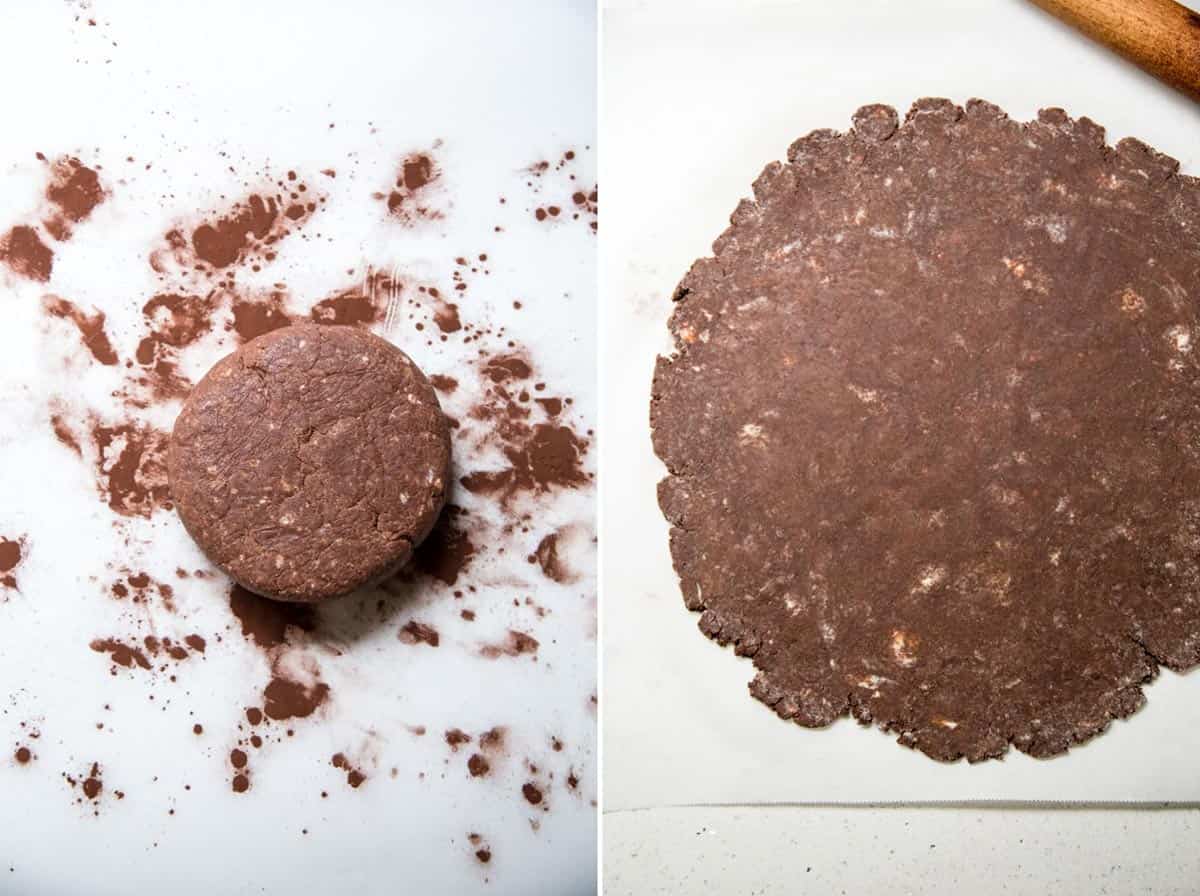
Tip: Use flour, cocoa powder, or a mixture of flour and cocoa powder to keep the dough from sticking to the counter when rolling. Rolling on parchment paper could also help.
Place the pie dough into the pie dish and trim off the excess, leaving a bit of dough hanging over the side. Flute the edges to form a decorative rim.

Tip: To transfer the sheet of pie dough onto the pie dish, you’ll want to roll it up onto your rolling pin. For this step, it is useful to have a longer French style rolling pin. Place the rolled up pie dough over your pie dish and unroll it to cover the dish. If you roll out the dough on a piece of parchment paper, you can simply flip it over the pie plate.
Once you form the pie crust in the pie plate, you can freeze it quickly before baking or store it in the freezer until you are ready to use it. You can use this chocolate pie dough in any pie recipes that call for homemade pie dough. Just bake it according to the recipe instructions.
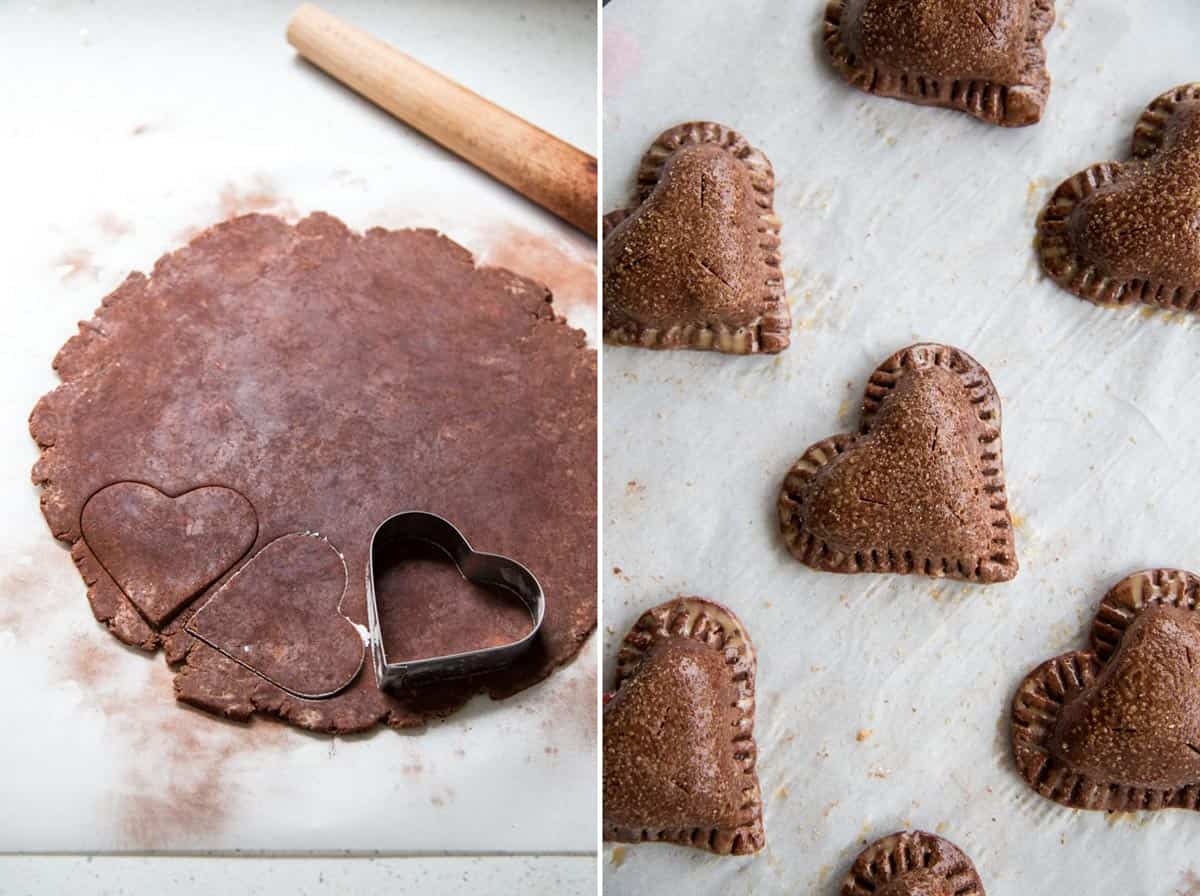
Alternatively, you can roll the dough out between ⅛” to ¼” and cut it into any shape you wish. Use it for hand pies, pop tarts, and so many other delicious treats.
Par baking or blind baking
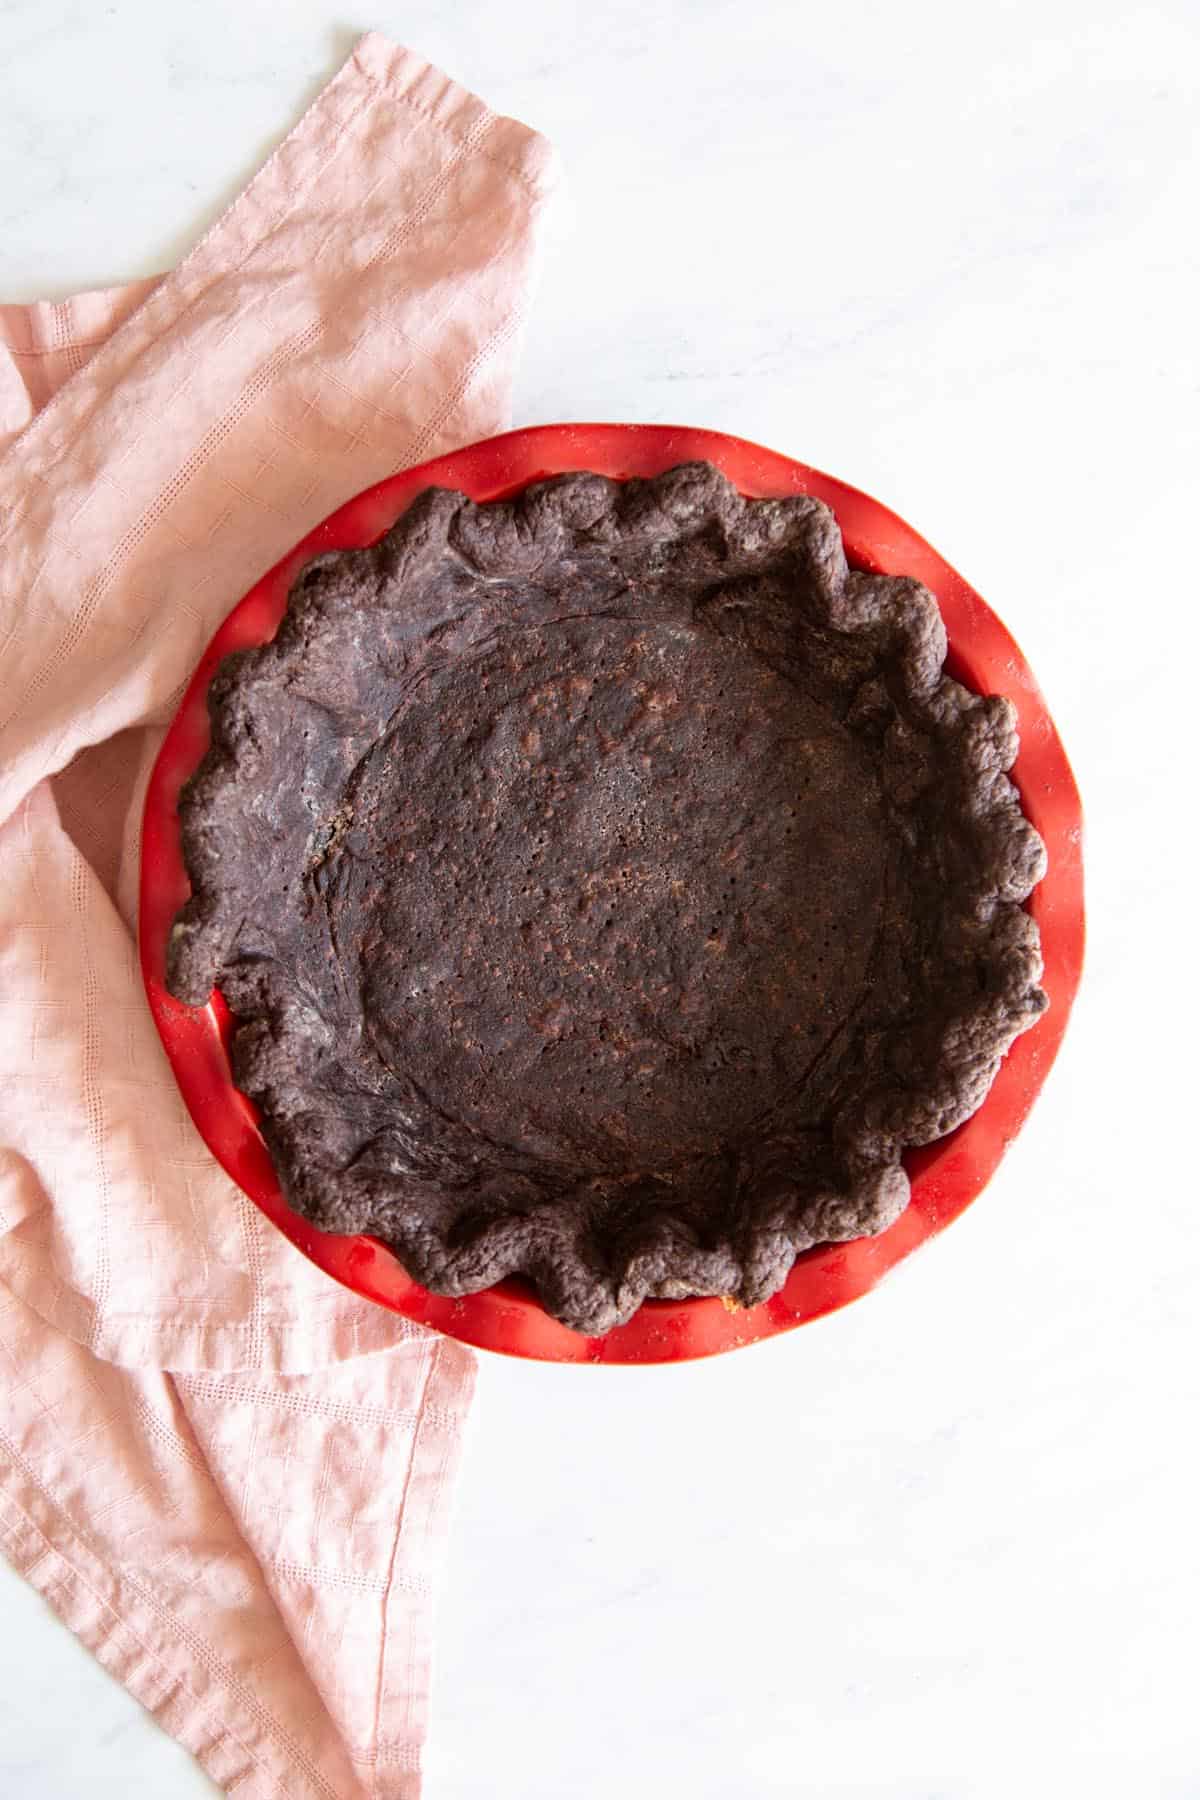
If you’re using this pie dough with a custard type filling like a pumpkin pie, you will need to par bake it first before adding the filling to prevent the crust from going soggy. To par bake:
- Dock the crust, or poke the bottom and side of the pie crust using a fork.
- Line the crust with parchment paper and pie weights. Tip: I use dry beans. Bake for 20-25 minutes at 425°F with the weights.
- Remove pie weights and add filling, continue to bake according to the recipe instructions.

If you’re making a pie with no bake filling or a cream filling, you will need to blind bake the crust. The process is exactly the same as par-baking but once you remove the pie weights, you will continue to bake the crust for 5-10 minutes longer to completely cook it.
Note: when blind-baking without the parchment paper and pie weights, make sure to cover the edges of the crust with a pie shield to avoid burning the edges. I usually use thin strips of foil as a pie shield.
How to tell when your pie crust is done baking
Because this pie crust is darker in color, you won’t be able to see when it turns “golden brown” like a regular pie crust. To tell whether it is done when blind-baking, check to see if the surface of the crust is dry. Once dry, it is done.
Make it without a food processor
Yes, absolutely! You can make this pie dough by hand or using a stand mixer if you don’t have a food processor.
Make this by hand:
- Use a pastry cutter or a fork to cut the butter into the flour mixture, or simply use the tips of your fingers to press the butter into the flour mixture the way you would when making scones.
- Then sprinkle in iced water and press the dough together to form a ball.
- Flatten into a disk, wrap in plastic and refrigerate.
Make this using a stand mixer:
- use the paddle attachment to beat the butter into the flour mixture until evenly distributed.
- Then drizzle in iced water and mix on low speed until the dough starts to pull together.
- Turn out on a piece of plastic wrap and gather into a ball, then flatten into a disk, wrap it up and refrigerate.
If you want to see process photos of these two methods, check out the post for my all-butter pie crust. There are detailed instructions and step by step photos.
Which is the best method?
I made this pie dough using all three methods for comparison. As you can see from the photo below, the chocolate pie crust made by hand is the flakiest, followed by the one made using the stand mixer and then food processor.

I’ve always made mine using a food processor just because it’s very quick and easy. But in all honesty, the other methods are easy as well. So take your pick and make it whichever way you’re comfortable with.
Storage
You can keep premade pie dough in the refrigerator for up to a week, or in the freezer for several months.
When freezing pie dough, make sure to double wrap and put it in a freezer bag as well to prevent the dough from absorbing funky freezer odor. You will need to thaw the dough before using.
I also like to shape the pie dough in the pie dish ahead of time and pop it in the freezer. It is best to use a metal pie dish if you’re planning to bake directly from the freezer.
I used to keep my ceramic pie dishes in the freezer and they started to show cracking, most likely from extreme temperature change from freezer to oven.
Another tip is to shape the dough in a pie dish, give it a good freeze, then pop the whole thing out of the dish and wrap it really well for safekeeping until you need to bake it.
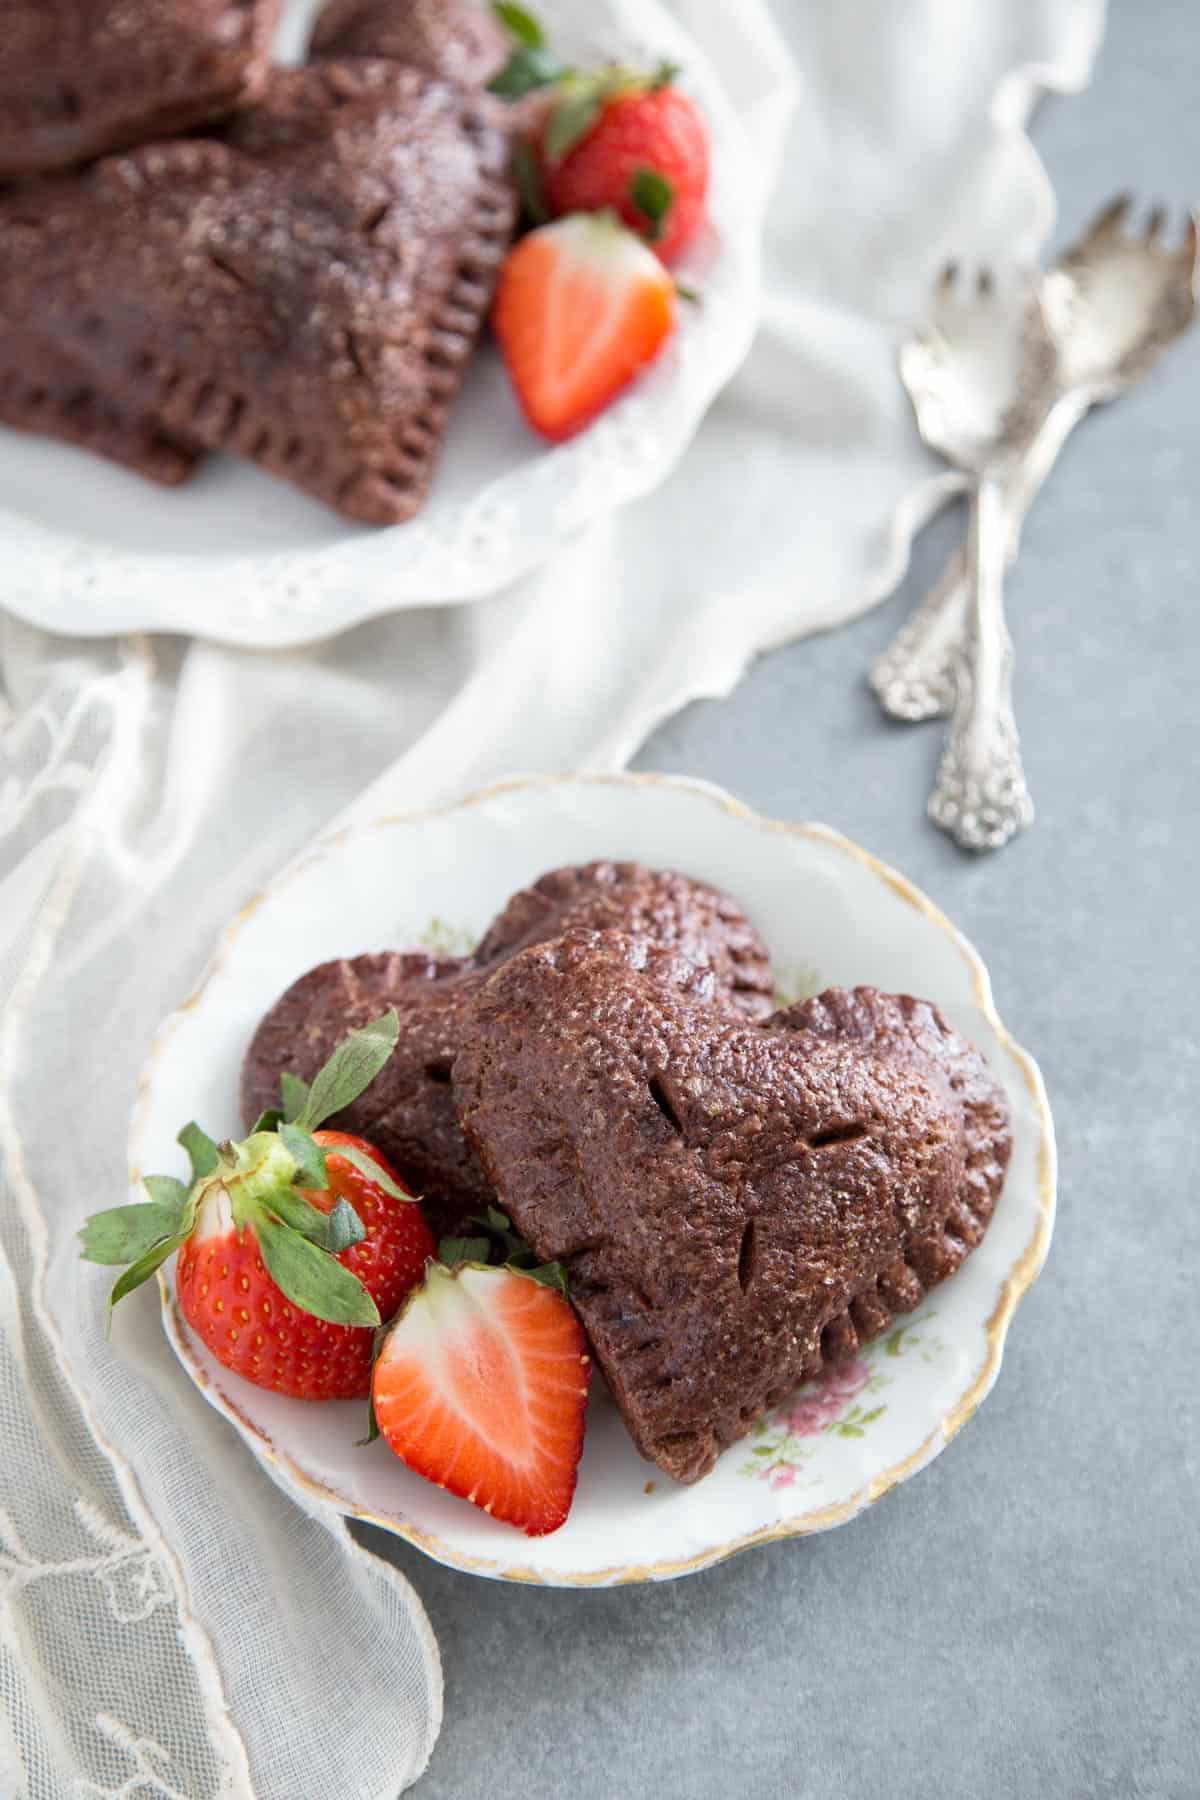
Pie recipes to try with chocolate pie crust
Hungry for more?
Chocolate Pie Crust
Equipment
- Pie Dish
Ingredients
- 1 ¼ cup all-purpose flour, 165 g
- ¼ cup cocoa powder, 22 g
- ¼ cup granulated sugar, 50 g
- ¼ rounded teaspoon kosher salt, 2 g
- 5 ounce unsalted butter, cold & cubed, 142 g
- 4 – 6 tablespoon cold water
Instructions
Make the pie dough
- Add flour, cocoa powder, sugar and salt in a mixing bowl and mix thoroughly with a whisk. Transfer flour mixture to a food processor fitted with the dough blade, or a stand mixer fitted with the paddle attachment or simply leave it in the bowl if making pie dough by hand.
Using Food Processor
- Add cubed cold butter to the flour mixture. Pulse the food processor several times until butter is about pea and bean size. Variations in size are okay.
- Turn the food processor to “on” position and drizzle cold water over the dough mixture through the water hole, as soon as the dough starts to pull together turn the food processor off. You may need to stop the food processor in between and get a spatula to mix up the flour at the bottom.
- Turn the dough out on the counter or cutting board lined with a piece of plastic wrap, and shape into a disk. Wrap well and rest in the refrigerator for at least an hour.
Using Stand Mixer
- Add cubed cold butter to the flour mixture. Turn the stand mixer on low to beat the butter into the flour. You will see the butter pieces flatten and get smaller. Variations in size are okay.
- Once the butter pieces are no longer in their original cube shape, drizzle cold water over the dough mixture while the mixer keeps going on low speed. Stop the mixer once you see larger clumps of dough start to pull together.
- Turn the dough out on the counter or cutting board lined with a piece of plastic wrap, and shape into a disk. Wrap well and rest in the refrigerator for at least an hour.
By Hand
- Add cubed cold butter to the flour mixture. Use a pastry blender to cut the butter into the flour mixture or pinch it together with your fingers until none of the butter pieces are larger than pea or lima bean size.
- Drizzle cold water over the dough mixture and mix with a spatula. Grab a chunk of dough and press it in your hand, if the dough holds it is done. You may need up to 6 tablespoons of cold water to get the dough to clump together in this method.
- Form a ball in the bowl, place it on a piece of square plastic wrap and flatten into a disk. Wrap well and rest in the refrigerator for at least an hour.
- At this point, you can use the dough as you please for a single crust pie, hand pies, tart, etc. Continue on with the following steps to prepare and par-bake the pie crust to use in recipes with a custard type filling.
Shaping and par-baking/blind-baking
- Take the disk of pie dough out of the fridge and roll into a circle about 2” larger than your pie dish. Use extra cocoa powder/flour to keep the dough from sticking to the counter and roller. You could also roll out the dough on a piece of parchment paper.
- Carefully place the dough over the pie dish, lightly press the dough into the bottom and side of the pie dish, let the excess dough hang over the side.
- Trim some of the excess dough if necessary to create an even edge, leaving just enough to fold under and create a fluted edge.
- Cover the pie dish with plastic wrap and keep refrigerated or freeze for 15 – 30 minutes.
- Once the pie dough has frozen solid, preheat the oven to 425°F.
- Dock the bottom of the pie dough and on the sides using a fork.
- Place a large piece of parchment paper over the frozen pie dough, place pie weights on top or pour dry beans on top to fill the whole pie crust. Make sure the parchment is large enough to cover the edges of the crust entirely.
- Bake pie crust for 25 minutes with pie weights or beans.
- At this point you can remove pie weights and parchment paper.
- Fill the pie crust with whatever filling you’re using and continue baking according to that particular recipe instructions.
- Or continue baking the crust to completion, an additional 5 – 10 minutes, to be used in pie recipes that don’t require further baking of the filling, such as cream pie.
- Remove from the oven and let cool on a wire rack.
Notes
- The amount of water you’ll need may vary between 4 – 6 tablespoons depending on the type of flour you use or even the weather. Too little water and the pie dough will be too dry, and won’t stick together. Too much water and the pie dough will be too wet and sticky. Drizzle just enough water to form clumps of dough that stick together.
- You can use instant coffee or instant espresso to enhance chocolate flavor, dissolve the granule in 1 tablespoon of cold water.
- When par-baking, make sure the parchment paper is large enough to cover the entire crust including the edges so the edge doesn’t burn.
- Once par-baking is complete and the parchment paper is removed, make sure to use a pie shield to cover the pie edge so it doesn’t burn.
Nutrition
Nutrition information is automatically calculated, so should only be used as an approximation.
 Like this recipe? Rate & comment below!
This post may contain affiliate links. For more details on how we utilize affiliates, ads, and sponsored content, see our full disclosure policy. Thank you for your continued support, which enables us to keep bringing you delicious recipes, at no extra cost to you.




Excellent recipe! Thanks so much for sharing! Used this for my first pie undertaking and used a cherry pie filling. Learned the hard way about burnt edges and how to prevent them. Not sure if I missed that in the instructions, but always good to include a note for us newbies if it wasn’t there. Otherwise the pie was great with the crust, though I’m a chocoholic and could always use more chocolate flavor, so if you ha e suggestions for that, please let me know. May put some chips in the pie next time. I also did a pretty lattice crust instead of the vented round top which was fun.
Oh no, I’m sorry about the burnt edges, I’ll make sure to add the note on that. I’m glad you enjoyed the recipe, and the cherry pie filling sounds amazing!
Hi! Can i use my paddle attachment on my kitchen aid for this Miss Trang? I do not have a food processor in my home. 🙁
Yes, it should work with the paddle attachment, but be careful of overriding because the paddle attachment won’t have the “cutting” motion. You could also do it by hand cutting the butter with a pastry blender, a fork or two butter knife, and knead my hand.
I just found a pastry cutter in our home I’ll try with the paddle first if it doesn’t then I’ll uses the cutter. Thank you Ms. Tray.
I use my kitchen aide with the paddle works fine for me I have bad shoulders . but I love baking
I just used this recipe to make the crust for an orange merengue pie! It worked perfectly. There was enough left over that I baked a little bit as cookies, and my family loved those too.
Thanks Clementine, so happy to hear the family loved it!
AWESOME!!!
Hello, this recipe looks amazing! However I’m stuck on one little thing. I pulled out my Cuisinart, and I can’t seem to find my plastic attachment for bread/dough. So my question is can I either use the metal piece, it’s two semi circular blades on a plastic middle? Or can I use my KitchenAid 5 quart mixer instead?
Hi Paul, I think the metal blade would cut the butter too fine and it won’t give you the right texture you need for pie dough. You want the pieces of butter still in small chunks so when it melts at high temperature will create pockets and give you flaky layers. The mixer will beat the butter instead of cutting it, not giving you the same texture either. You could make this by hand using a pastry cutter, or a fork, two butter knives, the purpose is to just cut the butter into the flour mixture until pea-size. Then add the water and mix with a spatula or wooden spoon. Or at this point, you could use your mixer with the paddle attachment to help out. I hope this help, let me know if you have any further questions.
Hi again, I meant to respond to this a while ago LOL! OK here’s my dilemma, I actually don’t have a Cuisinart like I thought, it’s another brand, Hamilton Beach. I don’t think this model even has a plastic blade as far as I could tell. Here’s what I’m thinking, and please tell me if I’m wrong. My KitchenAid is one of the higher end models, what if I used the paddle attachment instead of the food processor and put it on one of the lowest settings that turns much slower? I’m thinking maybe I won’t get exactly the consistency you’re suggesting, but I would get a lot closer than just using the metal blade on my food processor or beating at a higher speed on my mixer? Thanks again! And this really does look great I intend to make it this summer on one of my cheat days LOL.
Hi Paul, yes I think you could use the kitchen aid with the paddle attachment. It definitely won’t be the same texture because it won’t give you the same “cutting” action but will work for what you need. Another way that would be very easy is to do it by hand, do you have a pastry cutter? If not you could use 2 butter knives, a large fork to “cut” the butter into the flour and then add water a and lightly mix together by hand. You could even try to do it all by hand, check out my biscuit recipe for the instructions, you can use the same technique to make pie crust by hand.
If I want to freeze the dough, should I rest it overnight in the fridge before freezing it? Or is it okay to freeze it right after mixing it with butter?
You can freeze it right away after you shape it into a disk. Just wrap it well so it doesn’t take on any funky freezer smell.
It doesn’t say the oven temperature or how many minutes?
Hi Paul, the recipe is for the dough and you can use it in any pie recipe you want and use oven temperature for that particular pie recipe. Or check out this regular pie crust recipe for tips on how to blind bake it.
It will be hard to see when this crust is done due to the dark color. If you could suggest the proper baking time and temperature it would be helpful,
Thank you and can’t wait to try this!
Depends on how you want to bake it:
1. If baking by itself before adding no bake filling, 425F about 30 – 35 mins, use pie weight when baking the crust by itself or it will collapse.
2. If you want to fill it will some sort of custard, parbake it at 425F for about 20 – 25 mins with pie weight, and then remove pie weight and add your custard filling and bake at 350F until your filling is set, cover the edge with foil to avoid burning.
3. If doing fruit filling, you can bake it as directed per the specific fruit pie recipe you’re using, I typically bake at 425F until the fruit filling is bubbly, about an hour or so, make sure to use crust shield, it’s especially important for this crust because of the dark color, it can burn easily and you may not be able to tell from look.
Can you add that to the instructions? There’s nothing about how long or at what temp to bake it.
It depends on what recipe you’re using this for, are you baking it in a fruit pie? or hand pies? Usually you can use the raw dough in those recipes and bake it based on the specific instructions for those recipes. If you want to just par-bake it or bake it without filling, then bake at 425F with pie weights for 20 – 25 minutes, then bake further without pie weights for 5 – 10 minutes. Be sure to use pie shield to prevent the edge from burning. If you want more detailed instructions, see my original pie crust recipe for more tips.
I made this today and it was really beautiful crust to work with, but when I baked it, the sides collapsed in on themselves. What do you think was the problem? Should I have used baking paper and weights? Or should I have chilled it on the pie pan before baking?
Katie, if you bake the crust by itself, definitely need pie weight. What I typically do is line the inside with parchment paper and pour in enough dry bean to hold the sides up.
I only have salted butter—and hawaiian sea salt—-can i still do?
I recommend unsalted butter so you can control the saltiness of the pie crust. But if you are using salted butter, omit the salt altogether or it will be very salty!
So many great tips. Funky freezer odour haha ? Great recipe again
one could literally enjoy the crust without any filling
Amen to eating it as is! Less calories and fat sans filling! ?
Haha you certainly could! I guess that would be called “air pie”
Haha you certainly could!!